
Welcome to Clean Water!
This guide will walk you through the easy steps of installing your water purifier without any hassle, ensuring you enjoy pure and safe drinking water in no time! Let’s get started on your journey to cleaner hydration!
What You’ll Need for a Smooth Installation

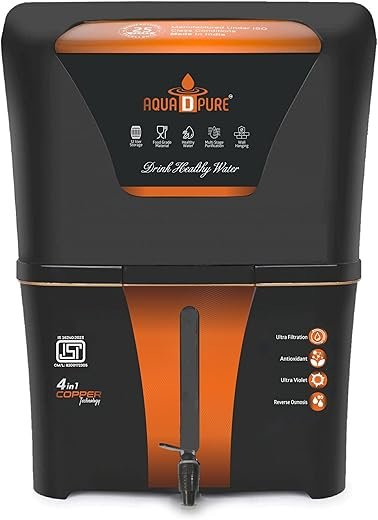
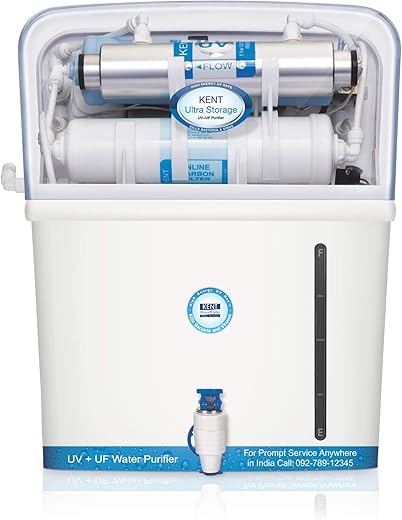
Step 1: Unpack and Understand Your Purifier
Is Your Water Purifier Ready to Shine?Begin by carefully unpacking your water purifier. Open the box and take out all components, including the main unit, filters, hoses, and any accessories. Inspect each item for damage; if you notice anything amiss, contact customer support right away.
Familiarize yourself with the parts. Lay everything out neatly and take a moment to identify each component. For instance, recognize the difference between the sediment filter and the activated carbon filter.
Read the manual thoroughly. This crucial step ensures you know how to install your purifier correctly. The manual often includes diagrams and instructions specific to your model.
Understanding your equipment sets you up for success! With your parts laid out and the manual in hand, you are ready to proceed to the next steps confidently.

Step 2: Prepare Your Installation Space
Creating the Perfect Spot for Purity!Select an ideal location for your purifier. Choose a spot near your kitchen sink and within reach of an electrical outlet. This makes it easy to access both the water source and power, since your purifier will need to connect to the plumbing.
Clear the area. Remove any unnecessary items from the countertop or cabinet below where you intend to install the purifier. Having a clean workspace not only gives you ample room to work but also prevents accidents during installation.
Ensure easy access to plumbing. Check under the sink for the water supply lines and drainage. If they’re cluttered, consider organizing or moving items to provide a clearer path for future maintenance.
A well-prepared space transforms installation into a seamless experience! By selecting the right location and clearing the area, you set the stage for a smooth setup.

Step 3: Connect the Water Lines
The Heart of Your Purifier: Making Connections!Identify the inlet and outlet water lines. Refer to your manual to locate these connections on the back of your water purifier. The inlet line brings in unfiltered water, while the outlet line delivers purified water to your faucet.
Apply Teflon tape on the threads. Wrap the threads of each connection point with Teflon tape to create a tight seal. This prevents leaks and ensures there’s no water escaping your system.
Attach the water lines. Connect the inlet line to the corresponding inlet on the purifier and firmly attach the outlet line as well. Use a wrench to secure the connections, but be careful not to over-tighten; this can cause threads to strip and lead to leaks.
Check your work. Once connected, take a moment to ensure everything is secured and snug. Secure connections are key to a successful installation, so double-check before moving on!

Step 4: Test and Enjoy Your Purified Water
Ready, Set, Drink! Is Your Water Pure?Turn on the water supply. Open the valve to allow water to flow to your purifier. This is your moment to ensure everything is functioning correctly.
Check for leaks. As water begins to flow, inspect all connections for any signs of dripping. If you notice any leaks, turn off the water immediately and tighten those connections.
Run the purifier. Allow your water purifier to flush for a few minutes. This step clears out any residual particles from the filters and ensures clean water flows through.
Test the water. After flushing, fill a glass with purified water and give it a taste test! You can also use a water testing kit to check for impurities.
Enjoy your hassle-free hydration! With everything working smoothly, celebrate with a refreshing glass of clean, purified water. Cheers to your commitment to health!

Cheers to Clean Drinking Water!
Congratulations! You’ve successfully installed your water purifier. Enjoy the peace of mind that comes with knowing your water is pure and safe! We encourage you to try it out and share your experience with family and friends. Cheers to health!


Can I just say how much I loved the last step? Testing the water was like magic! ✨ The taste is sooo much better!
Happy to hear that, Megan! Clean water really does make a difference. What did you notice the most?
Right? It’s like drinking a whole new water! I was surprised how different it tasted.
I’m not super handy, but I managed to get through this! The instructions were pretty clear. I think the hardest part was moving my sink to get to the pipes. 😂
I hear you! Moving stuff around can be the worst part of any DIY project!
Well done, David! Sometimes just getting to the pipes is the biggest challenge! What model did you install?
Just an idea, but maybe a video tutorial would be super helpful for visual learners? Just a thought!
Thanks for the suggestion, Sophie! We’re always looking for ways to improve. A video could be a great addition!
I’d definitely watch a video! Sometimes seeing it done helps a lot!
The guide was overall pretty solid, but I felt like Step 3 needed more detail. I had to watch a video on YouTube for the connections. Anyone else?
Thanks for the feedback, Rachel! We’ll look into expanding that section. Which part of Step 3 was tricky?
I can relate! Step 3 was the only confusing part for me too. Glad I wasn’t alone!
I didn’t think I’d need a DIY guide for a water purifier, but here I am. I thought I’d mess up the water lines, but it went okay. Just don’t rush it!
Same here, Sarah! I started rushing and had to redo a few steps. Slow and steady wins the race! 😂
Great advice, Sarah! Taking your time is key. Did you find any part particularly tricky?
I’m still trying to figure out how to unpack the purifier. The box is a fortress! 😂 Somebody send help!
Haha, Chris! Sometimes packaging can be trickier than the installation itself. Use scissors, not your bare hands!
I had the same struggle! Just be careful with sharp edges on the box.
Just finished installing my water purifier using this guide! 🎉 It was way easier than I thought. The step-by-step instructions were super clear. Just wish I had a bigger space to work with, but I managed. Thanks for making it so simple!
Congrats, Kelly! Always nice to hear that it’s user-friendly! Which model did you install?
Thanks for your feedback, Kelly! We’re glad it helped. If you have any tips for working in smaller spaces, feel free to share!
I wish the guide had more pictures. I get lost sometimes without visuals. But it’s still better than some other guides I’ve seen!
We appreciate your input, Emily! We’ll consider adding more visuals in the future. What part was confusing?
I agree! More pics would help a lot. I had to Google a few things along the way.
I’m not the handiest person, but this guide made it pretty straightforward. I did have one hiccup connecting the water lines, though. Any tips for getting those tight connections? 🤔
I had the same issue! A wrench helped me tighten everything up. Good luck!
Hi Brian! Sometimes using a bit of Teflon tape can help with tight connections. Let us know if that works for you!
The guide is okay, but I wish it included maintenance tips. How often do I need to change the filters?
I think it’s every 6 months for mine. Don’t forget to mark your calendar!
Great point, Nina! Filter maintenance is super important. Usually, it’s every 6-12 months, depending on usage. Check your manual too!
I finally installed mine! 🎉 I’m now the water purifier king of my neighborhood! Just don’t ask me to help anyone else install theirs… 😂
Congratulations, Mark! Your reign as king is well-deserved! Maybe you can host a DIY workshop?
Haha, I’d attend that workshop! 😂
I didn’t even realize I could install one myself! This guide was a revelation. I’m excited to taste my first glass of clean water!
Welcome to the DIY club! It’s definitely a rewarding project.
That’s awesome, Jordan! Enjoy that first sip! Do you have any questions before you start?